A little editing can turn a great photo in to a great product photograph.

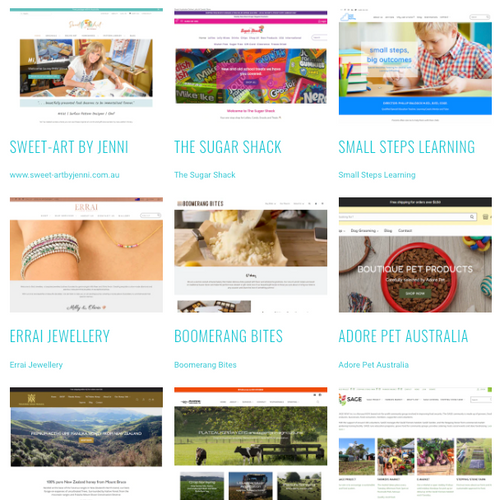
As an example, look at this page - the baskets look great becuase the background has been edited out, letting you focus on the basket and nothing but the basket:
http://www.thegalleryshop.com.au/collections/homewares-3-1500-3000 Adobe Photoshop Elements is around $150 (Mac or PC) and is a really powerful tool. It comes in very handy for school assignments too, and I always suggest teaching your kids (over 10 years old or so) to use it - editing your photos can become their pocket money job. PDF:
Guide to using Photoshop for web shopkeepers I've repeated the text below, but you might find it easier just to print out the pdf. Adobe had great videos on how to use Photoshop - I've linked to them throughout this tutorial.
Photoshop for eCommerce Getting started: Please watch -
http://tv.adobe.com/watch/learn-photoshop-elements-9/using-the-toolbox-in-photoshop-elements/ Take good photos in the first place -
see my previous blog post on this topic Installing Photoshop Install the minimum set or it will be slower than necessary.
Saving files – directory structures, name structures Create a directory structure for your files that suits your work. That way you will always be able to find the right photo at the right size. e.g. Inventory photos / snowboards (raw, edited) / skis (raw, edited) / goggles (raw, edited) / jackets (raw, edited) Give each file a name that makes it really easy to identify. That may be your inventory code, or BreastfeedingCoverPinkGingham.jpg. Avoid spaces in file names. Break up words using –, _ or interCapping. Copy the file from your camera to the raw directory, and then from there to the edited directory. Make sure you are working on the ‘edited’version – perhaps give it a –e suffix so you can tell at a glance.
Resolution, quality and size Video tutorial:
http://tv.adobe.com/watch/photoshop-elements-9-how-tos/recompose-to-any-size-without-distortion/ Computer monitors in general (and this is about to change, so make sure you save an original high resolution file on your computer for later use) show at 72 DPI. That means that there are 72 dots on a line an inch long. This is enough to fool your eye into seeing a complete image. Most printers print at 300 dpi, and high quality ones can do 600 and above. So save a 72 dpi version for web work, and a 300 dpi version for print work. THE GOOD NEWS: is that Shopify takes care of all of that for you. When you upload an image it creates sized versions as follows: If you are not using Shopify, or creating your own versions for other purposes (Facebook, Print …), creating one of each of those sizes AND a ‘medium-large’ of about 350 gives you a good range of images to work with. However, DON’T use the same exact suffixes as Shopify does (should you later want to use Shopify) or else Shoipfy gets confused. I suggest you suffix them with the resolution (72 for screen, 300 for print) and the width (e.g. 200 p). So a Black_Ski_Jacket.jpg saved at 72 dpi and 200 pixels wide would be Black_Ski_Jacket_72x200.jpg Be aware you may want to set the height, OR the width (depending on whether you want them to line up).

You can’t specify both without squishing the photo (bad), or cropping it.
http://help.adobe.com/en_US/photoshopelements/using/WS287f927bd30d4b1fef992ca12e28aa8015-7ff3.html http://tv.adobe.com/watch/photoshop-elements-9-how-tos/recompose-to-any-size-without-distortion/ Selecting You need to select the area of the photo you want to work on. This could be to fix red-eye, remove a background, or straighten a photo. There are several ways of selecting an area (to work on). Select all (ctrl + A) Select tool - Square / circle Lasso Wand (all pixels close to the same colour in that area) You can also make a selection, then choose the ‘inverse’ option. These tutorials are really helpful:
http://tv.adobe.com/watch/photoshop-elements-9-how-tos/using-manual-selection-tools/ http://tv.adobe.com/watch/photoshop-elements-9-how-tos/using-automatic-selection-tools/ Cropping You may want to crop a photo to:
- cut out parts of the image that you don’t need
- make the photo a certain size so it will ‘line up’ with other photos, fit in a specific box (e.g. the banners on the front page of Shopify) or fit on standard sized photos (4”x6”, 6”x8”). This width/height setting is called aspect ratio.
http://tv.adobe.com/watch/photoshop-elements-9-how-tos/using-the-straighten-and-crop-tools/ Skewing If your product needs to be square you may need to remove skew. Before After

Exercise: Use the Help to figure out how to do this. Press F1 (PC) or navigate to “Help” (Mac). Search for SKEW and follow the instructions. Online Help is an amazing tool – practice using it.
Auto enhancement Auto enhancement works by making the lightest pixels white and the darkest black and stretches out the rest in between. It works well on some pictures (people) and badly on others (paintings in a single hue like the Ngale sisters).
Removing backgrounds A clear background makes a photo look significantly more professional. Try to do it by clearing out the background of the original photo. You can use the selection tools and delete the background (see selection tools above). Or you can de-focus the background: In the camera, using the F stop (depth of field), or using Photoshop.
http://tv.adobe.com/watch/learn-by-video/guided-edit-depth-of-field-effect-/ Fixing bad spots You can remove Red-eye and Blemishes very easily:
http://tv.adobe.com/watch/photoshop-elements-9-how-tos/fixing-red-eye-and-retouching-skin/ Now Practice, Practice, Practice.